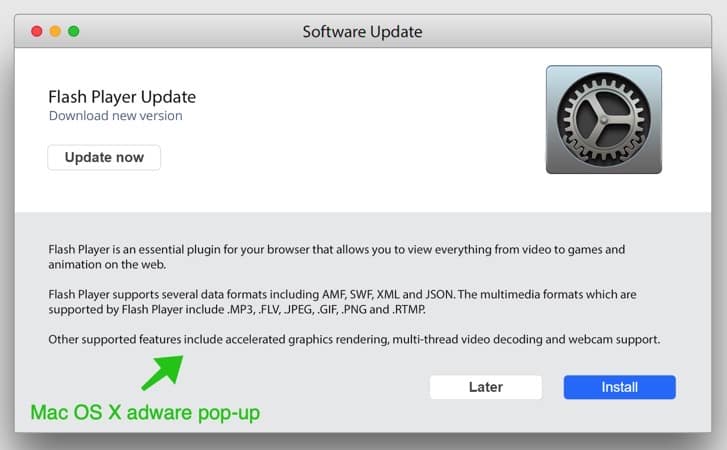
SearchToolHelper is adware targetting Mac users. SearchToolHelper displays intrusive advertisements and is known to hijack the web browser settings in Safari, Google Chrome and Firefox.
SearchToolHelper is regularly offered on the internet bundled with other free software you can download from the internet. Users are most likely not aware when they install software downloaded from the internet the SearchToolHelper adware is also installed on their Mac.
The data collected by SearchToolHelper is used for advertising purposes. The data is sold to advertising networks. Because SearchToolHelper collects data from your browser, SearchToolHelper is also classified as (PUP) Potentially Unwanted Program.
SearchToolHelper adware will install itself in the Google Chrome and Safari browser only on Mac OS X. Neither Apple of any browser developer yet notices this adware as dangerous.
Remove SearchToolHelper
Before we start you need to remove an administrator profile from your Mac settings. The administrator profile prevents Mac users from uninstalling SearchToolHelper from your Mac computer.
- In the top left corner click on the Apple icon.
- Open Settings from the menu.
- Click on Profiles
- Remove the profiles: AdminPref, Chrome profile, or Safari profile by clicking the – (minus) in the bottom left corner.
 Remove SearchToolHelper – Safari
- Open Safari
- In the top left menu open the Safari menu.
- Click on Settings or Preferences
- Go to the Extensions tab
- Remove the SearchToolHelper extension. Basically, remove all extensions you do not know.
- Go to the General tab, change the homepage from SearchToolHelper to one of your choices.
 Remove SearchToolHelper – Google Chrome
- Open Google Chrome
- In the top right corner open the Google menu.
- Click on More Tools, then Extensions.
- Remove the SearchToolHelper extension. Basically, remove all extensions you do not know.
- In the top right corner open the Google menu once again.
- Click on Settings from the menu.
- In the left menu click on Search Engines.
- Change the Search engine to Google.
- In the On Startup section click on Open the new tab page.
Remove SearchToolHelper malware with Malwarebytes for Mac
In this first step for Mac, you need to remove SearchToolHelper using Malwarebytes for Mac. Malwarebytes is the most reliable software to remove unwanted programs, adware, and browser hijackers from your Mac. Malwarebytes is free to detect and remove malware on your Mac computer.
Download Malwarebytes (Mac OS X)
You can find the Malwarebytes installation file in the Downloads folder on your Mac. Double click the installation file to begin.
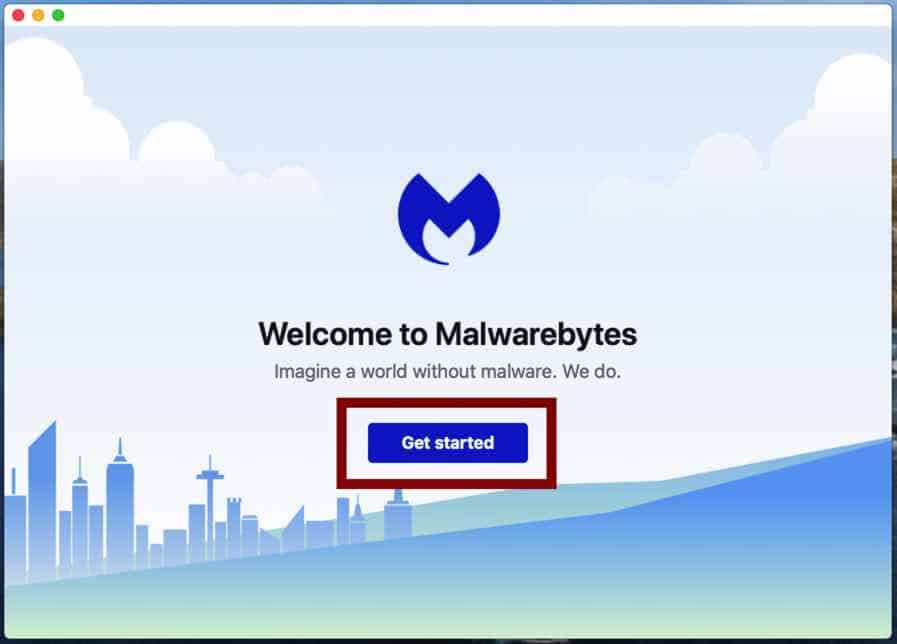
Follow instructions in the Malwarebytes installation file. Click the Get Started button.
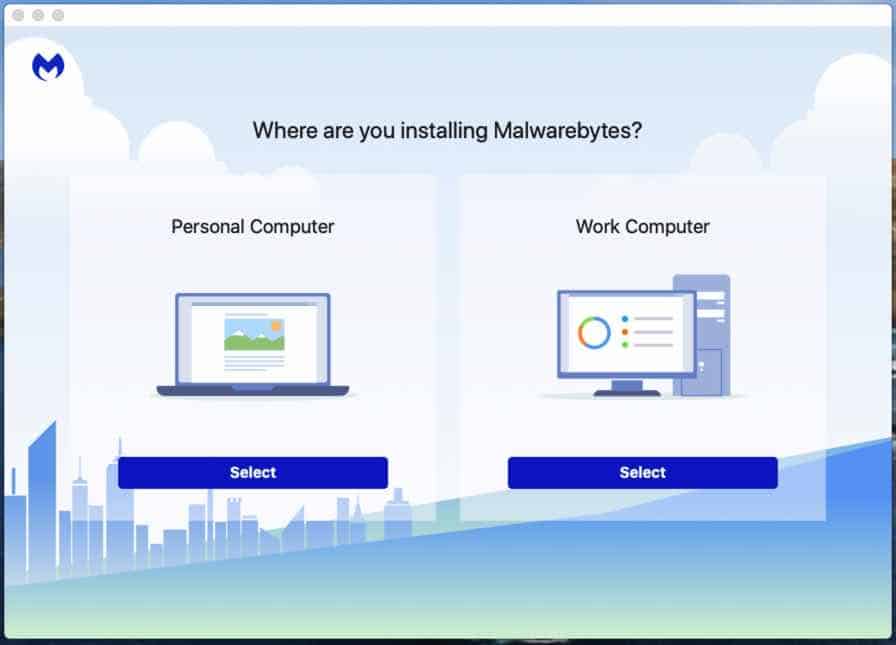
Where are you installing Malwarebytes on a personal computer or on a work computer? Make your choice by clicking any of the buttons.
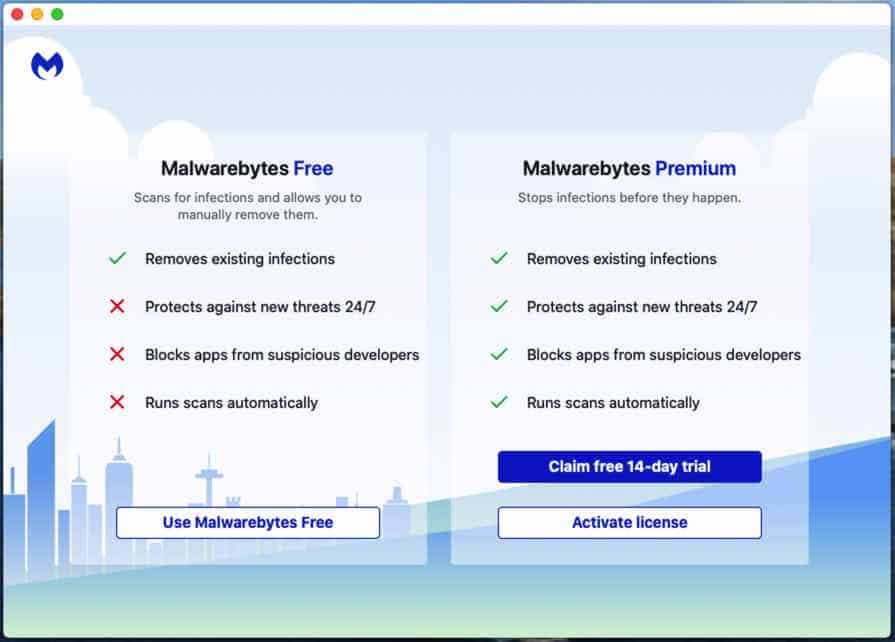
Make your choice to either use the Free version of Malwarebytes or the Premium version. The premium versions include protection against ransomware and offer real-time protection against malware.
Both Malwarebytes free and premium are able to detect and remove malware from your Mac.
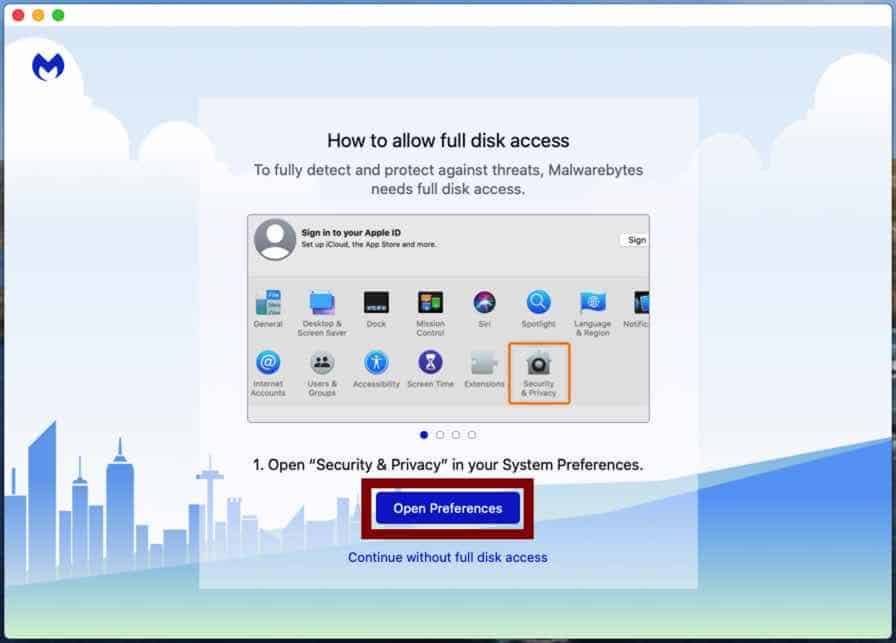
Malwarebytes needs “Full Disk Access” permission in Mac OS X to scan your harddisk for malware. Click Open Preferences.
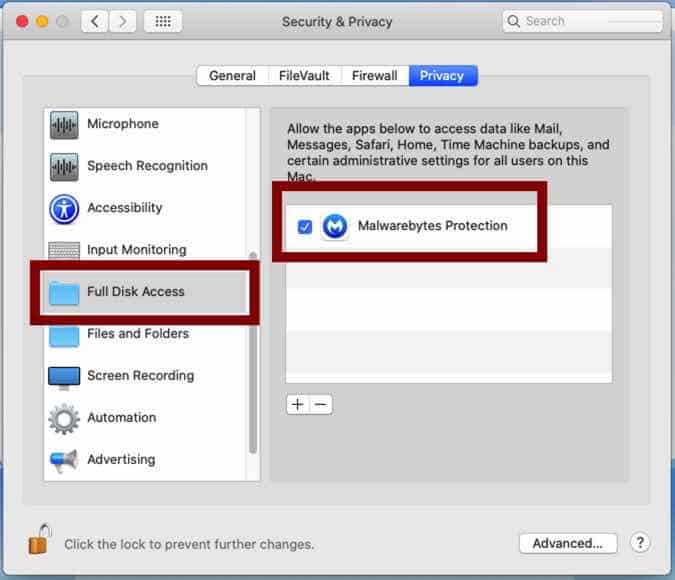
In the left panel click on “Full Disk Access”. Check the Malwarebytes Protection and close the settings.
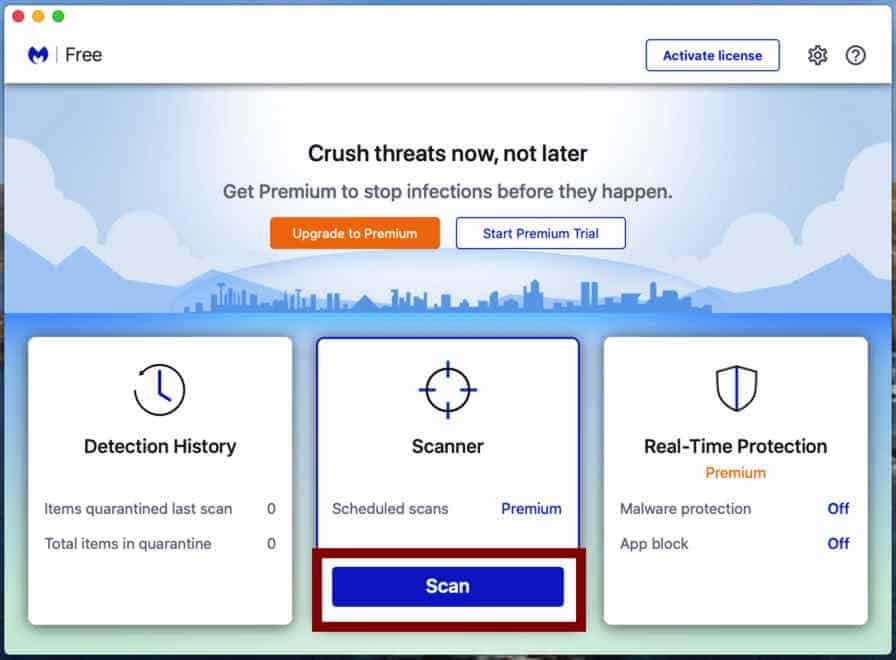
Go back to Malwarebytes and click the Scan button to begin scanning your Mac for malware.
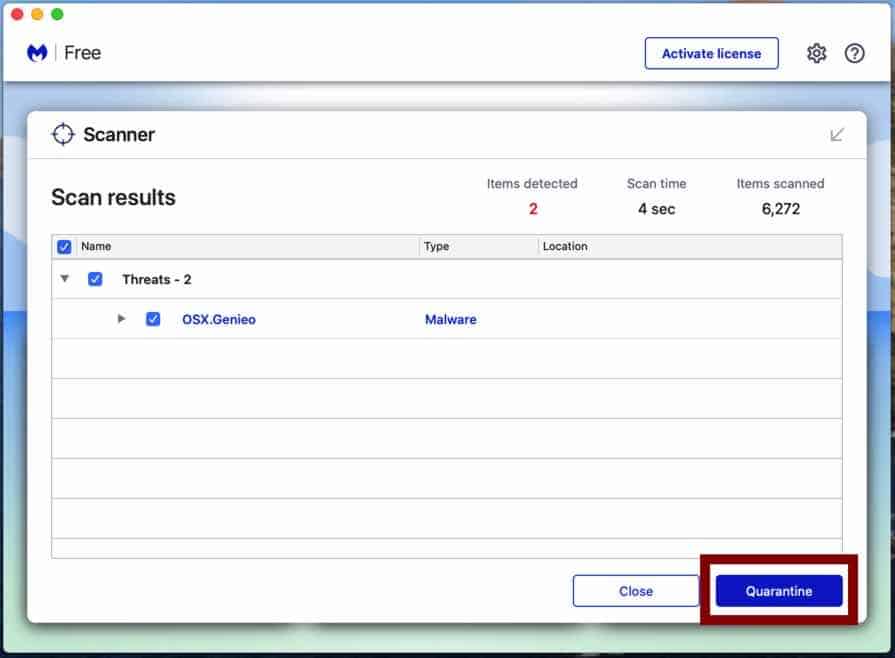
Click on the Quarantine button to delete the found malware.
Reboot your Mac to complete the malware removal process.
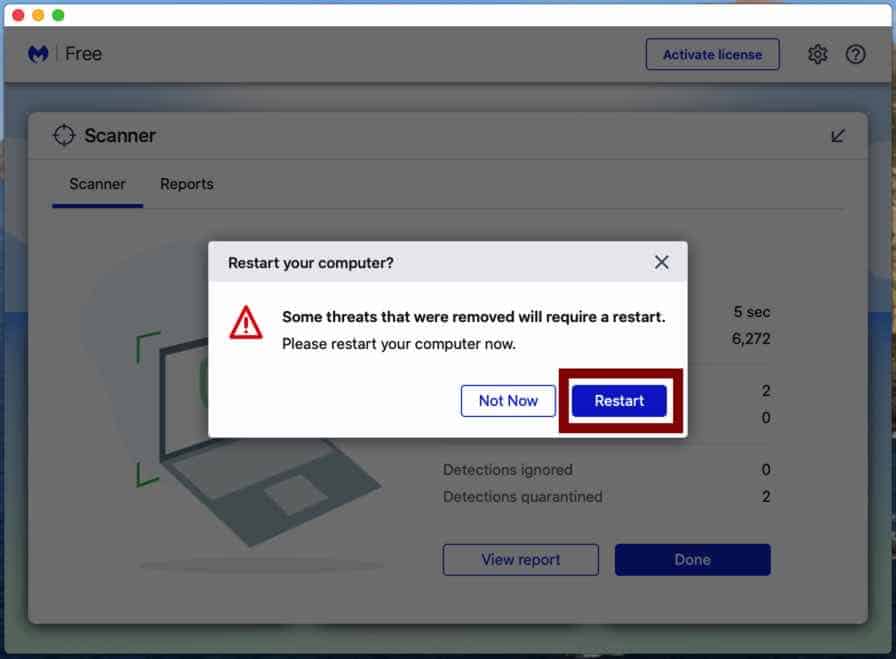
When the removal process is done, continue to the next step.
Remove unwanted profile from your Mac
Next, you need to check if there are policies created for Google Chrome. Open the Chrome browser, in the address bar type: chrome://policy.
If there are policies loaded into the Chrome browser, follow the steps below to remove the policies.
On the Applications folder on your Mac, go to Utilities and Open the Terminal application.
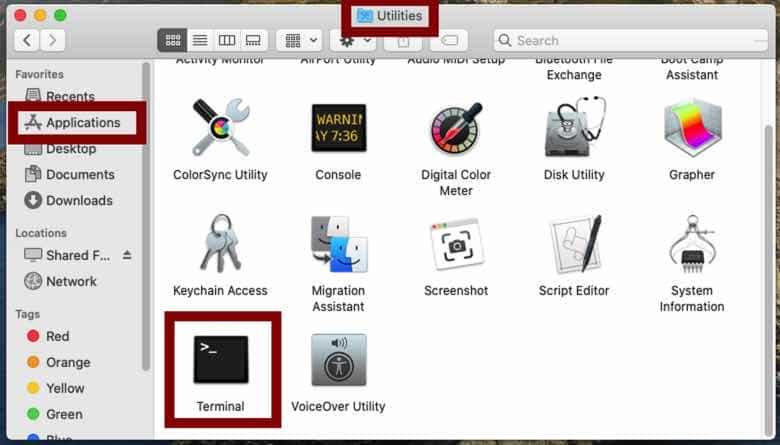
Enter the following commands in the Terminal application, press ENTER after each command.
- defaults write com.google.Chrome HomepageIsNewTabPage -bool false
- defaults write com.google.Chrome NewTabPageLocation -string “https://www.google.com/”
- defaults write com.google.Chrome HomepageLocation -string “https://www.google.com/”
- defaults delete com.google.Chrome DefaultSearchProviderSearchURL
- defaults delete com.google.Chrome DefaultSearchProviderNewTabURL
- defaults delete com.google.Chrome DefaultSearchProviderName
- defaults delete com.google.Chrome ExtensionInstallSources
Remove “Managed by your Organization” from Google Chrome on Mac
Some adware and malware on Mac force the browser’s homepage and search engine using a setting known as “Managed by your organization”. If you see the browser extension or settings in Google chrome is forced using the “Managed by your organization” setting, follow the steps below.
Make sure to bookmark this webpage and open it in another web browser, you need to Quit Google Chrome.
On the Applications folder on your Mac, go to Utilities and Open the Terminal application.

Enter the following commands in the Terminal application, press ENTER after each command.
- defaults write com.google.Chrome BrowserSignin
- defaults write com.google.Chrome DefaultSearchProviderEnabled
- defaults write com.google.Chrome DefaultSearchProviderKeyword
- defaults delete com.google.Chrome HomePageIsNewTabPage
- defaults delete com.google.Chrome HomePageLocation
- defaults delete com.google.Chrome ImportSearchEngine
- defaults delete com.google.Chrome NewTabPageLocation
- defaults delete com.google.Chrome ShowHomeButton
- defaults delete com.google.Chrome SyncDisabled
Restart Google Chrome when you are done.
Your Mac should be free of adware, malware, and Hijack.com. If you still need help you ask for my help in the comments.