Remove Sionremai.fun. Sionremai.fun is a fake webpage. Sionremai.fun shows notifications to trick you into clicking on Sionremai.fun advertisements. Sionremai.fun is identical to scam site, Titionasses.fun.
If your Windows computer or Mac computer, Android, or iOS phone displays advertisements from Sionremai.fun, then you have accepted notifications from this scam. Notification is a legitimate web browser functionality that is abused by Sionremai.fun. Sionremai.fun displays a fake message trying to convince you into clicking the allow button in your web browser.
Read more below on how it works.
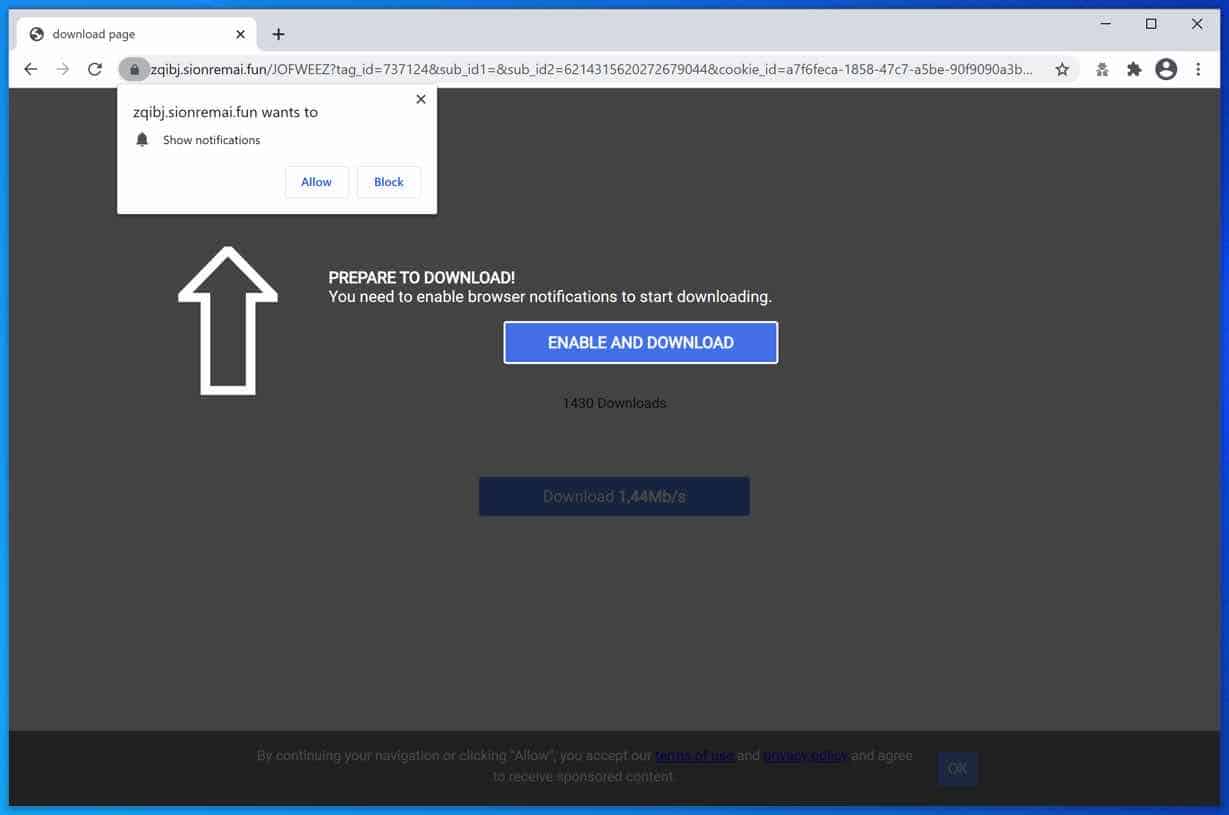
If you allowed notifications from the Sionremai.fun website, Sionremai.fun displays fake and often intrusive advertisements using your web browser.
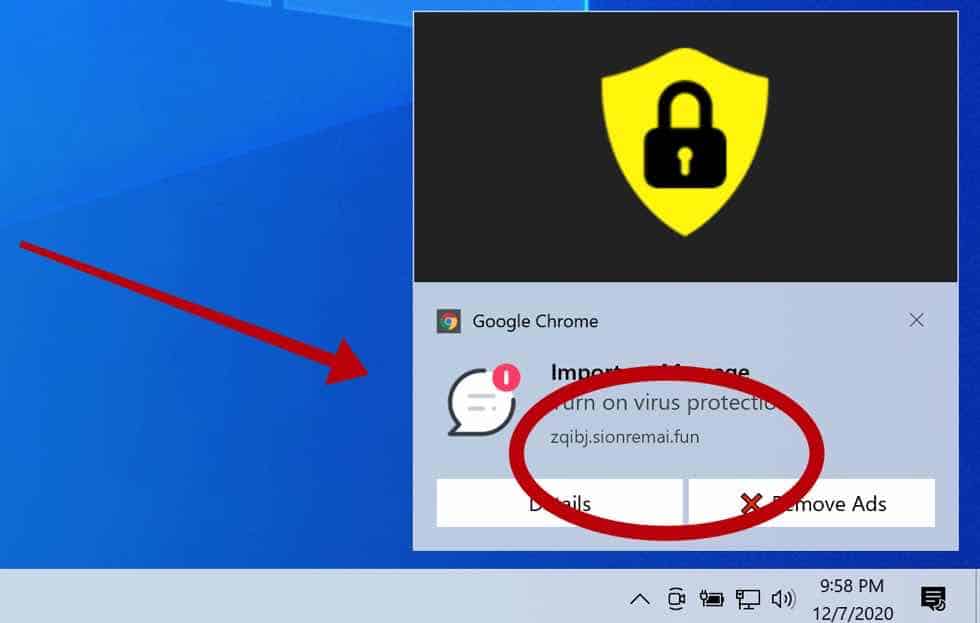
Many of the ads shown by Sionremai.fun are associated to scam websites and adware programs. Also, some of these notifications lead to malware websites that are dangerous for your online privacy.
Adware programs typically appear legitimate and harmless. Users are attracted to download and install these programs with various offers that look useful. However, the program features rarely are what they claim to be. The only sole purpose of adware programs is to generate revenue for the adware program developers. Therefore, adware programs create redirects, display intrusive advertisements, and collect web browsing data from your computer.
Remove Sionremai.fun
Choose your web browser
Google chrome
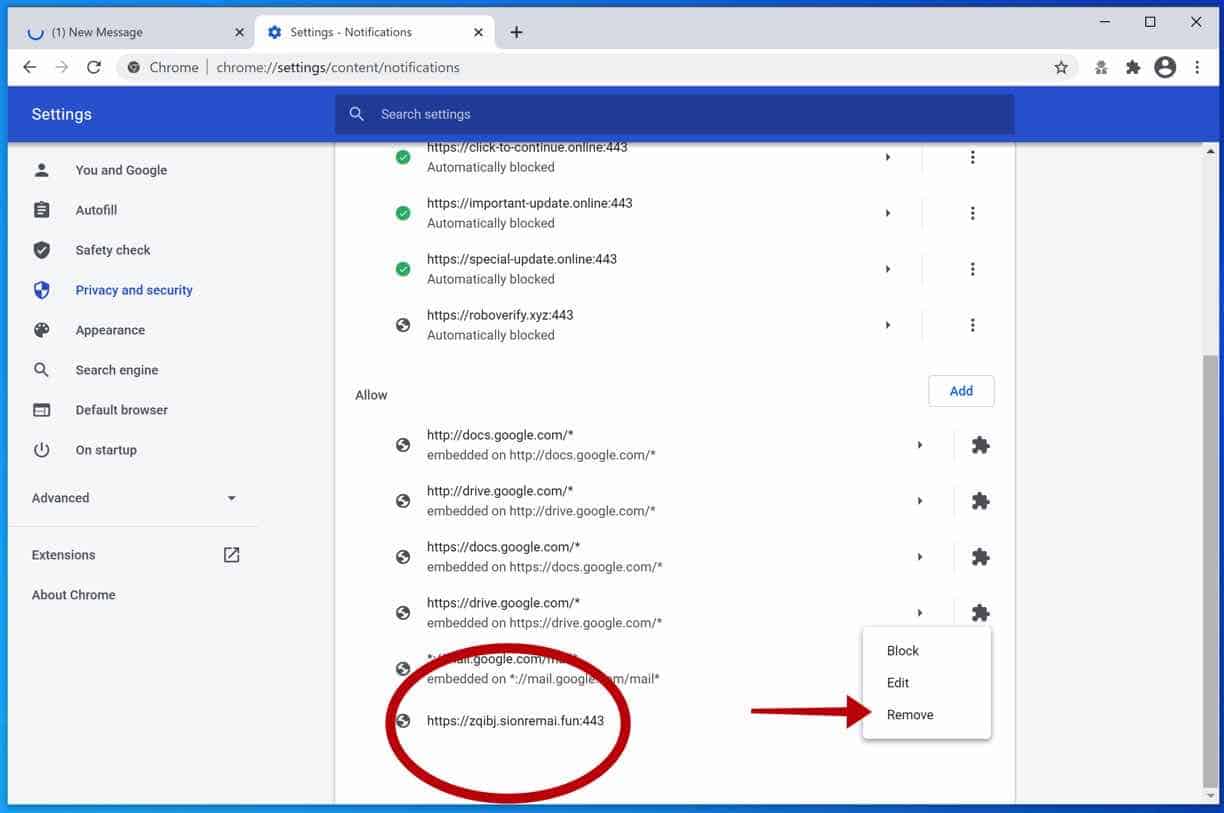
Open the Google Chrome browser, in the address bar type: chrome://settings/content/notifications
or follow the steps below.
- Open Google Chrome.
- In the top-right corner, expand the Chrome menu.
- In the Google Chrome menu, open Settings.
- At the Privacy and Security section, click Site settings.
- Open the Notifications settings.
- Remove Sionremai.fun by clicking the three dots on the right next to the Sionremai.fun URL and click Remove.
Android
- Open Google Chrome
- In the top-right corner, find the Chrome menu.
- In the menu tap Settings, scroll down to Advanced.
- In the Site Settings section, tap the Notifications settings, find the Sionremai.fun domain, and tap on it.
- Tap the Clean & Reset button and confirm.
Protect your mobile device with Malwarebytes.
Firefox
- Open Firefox
- In the top-right corner, click the Firefox menu (three horizontal stripes).
- In the menu go to Options, in the list on the left go to Privacy & Security.
- Scroll down to Permissions and then to Settings next to Notifications.
- Select the Sionremai.fun URL from the list, and change the status to Block, save Firefox changes.
[tabby title=”MS Edge” icon=”edge”]
- Open Microsoft Edge.
- In the top right corner, click on the three dots to expand the Edge menu.
- Scroll down to Settings.
- In the left menu click on Site permissions.
- Click on Notifications.
- Click on the three dots on the right of the Sionremai.fun domain and Remove.
Safari
- Open Safari. In the top left corner, click on Safari.
- Go to Preferences in the Safari menu, now open the Websites tab.
- In the left menu click on Notifications
- Find the Sionremai.fun domain and select it, click the Deny button.
Continue to the next step.
Remove malware with Malwarebytes
Malwarebytes is free to use.
Make sure to completely clean your computer from malware with Malwarebytes.
Malwarebytes is an essential tool in the fight against malware. Malwarebytes is able to remove many types of malware that other software does often miss, Malwarebytes is costing you absolutely nothing. When it comes to cleaning up an infected computer, Malwarebytes has always been free and I recommend it as an essential tool in the battle against malware.
Install Malwarebytes, follow on-screen instructions. Click Scan to start a malware-scan.

Wait for the Malwarebytes scan to finish. Once completed, review the malware detections.
Click Quarantine to continue.

Reboot Windows after all the malware detections are moved to quarantine.

Continue to the next step to remove unwanted programs and malware
Remove malware with Sophos HitmanPRO
In this malware removal step, we will start a second scan to make sure there are no malware remnants left on your computer. HitmanPRO is a cloud scanner that scans every active file for malicious activity on your computer and sends it to the Sophos cloud for detection. In the Sophos cloud both Bitdefender antivirus and Kaspersky antivirus scan the file for malicious activities.
When you have downloaded HitmanPRO install the HitmanPro 32-bit or HitmanPRO x64. Downloads are saved to the Downloads folder on your computer.
Open HitmanPRO to start installation and scan.
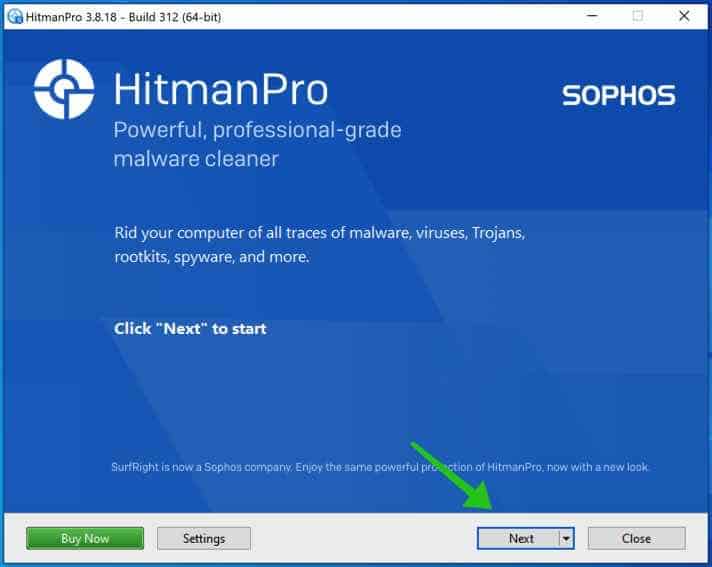
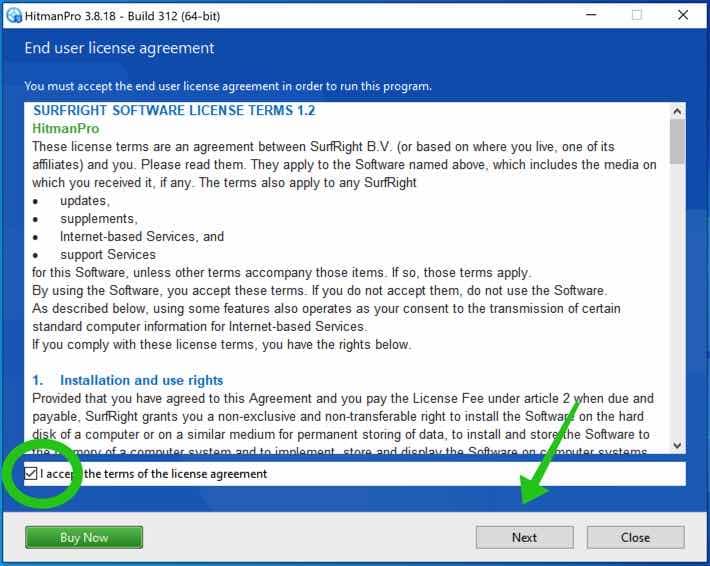
Accept the Sophos HitmanPRO license agreement to continue. Read the license agreement, check the box, and click on Next.
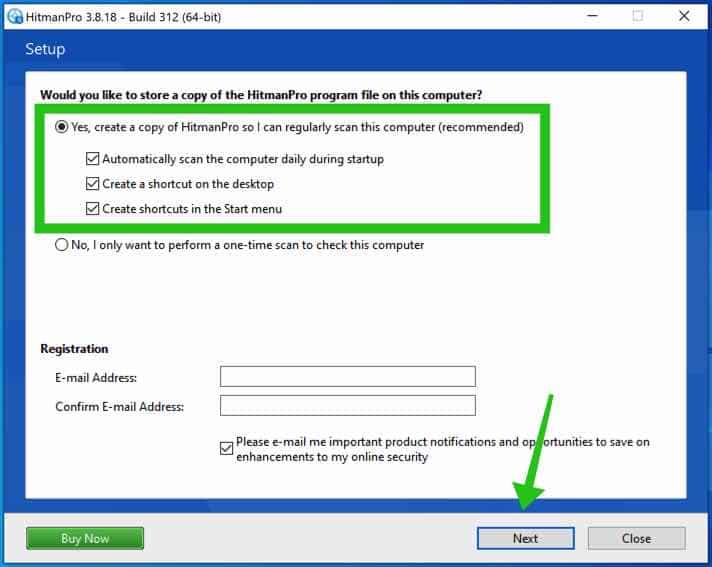
Click the Next button to continue Sophos HitmanPRO installation. Make sure to create a copy of HitmanPRO for regular scans.
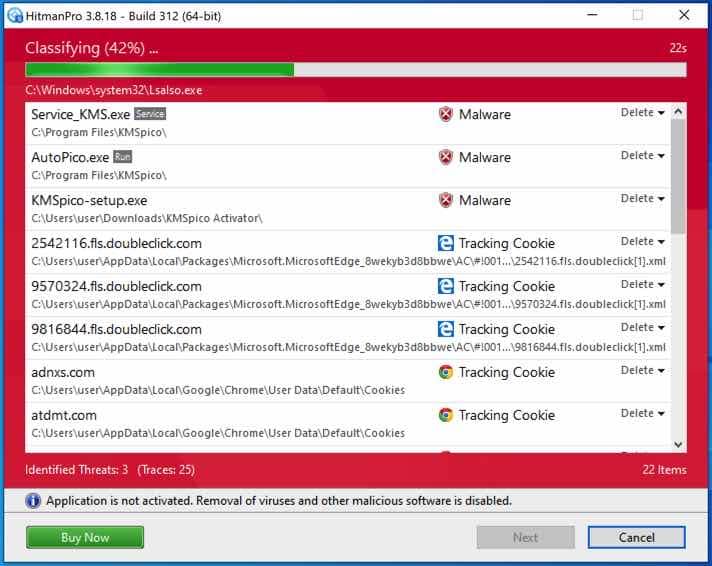
HitmanPRO begins with a scan, wait for the antivirus scan results.
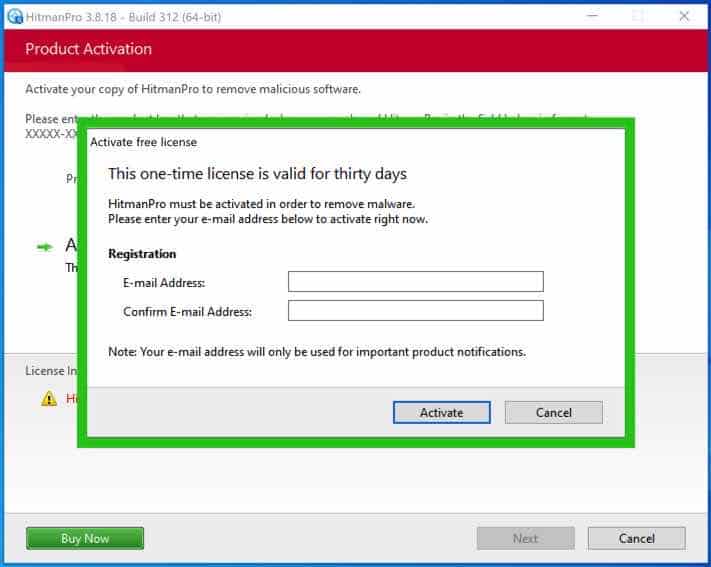
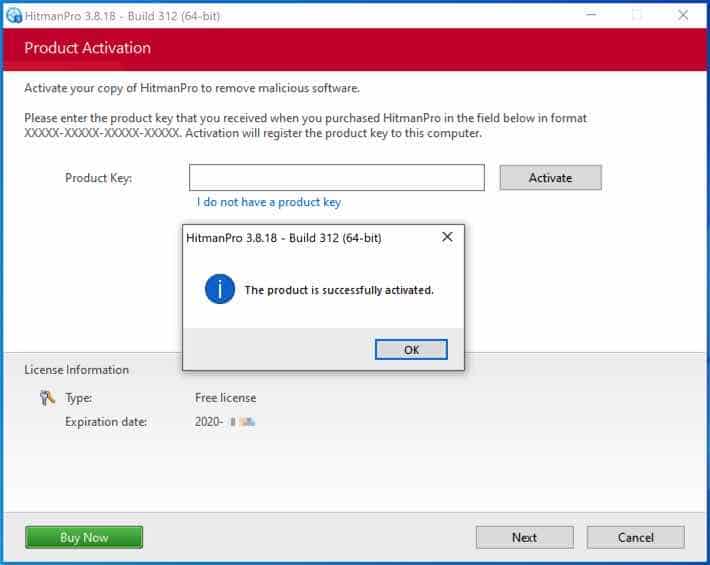
When the scan is done, click Next and activate the free HitmanPRO license. Click on Activate Free license.

Enter your e-mail for a Sophos HitmanPRO free thirty days license. Click on Activate.
The free HitmanPRO license is successfully activated.
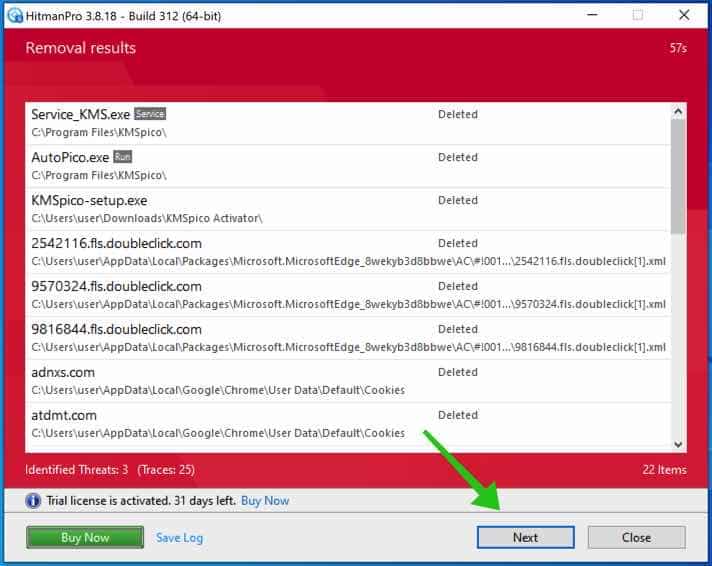
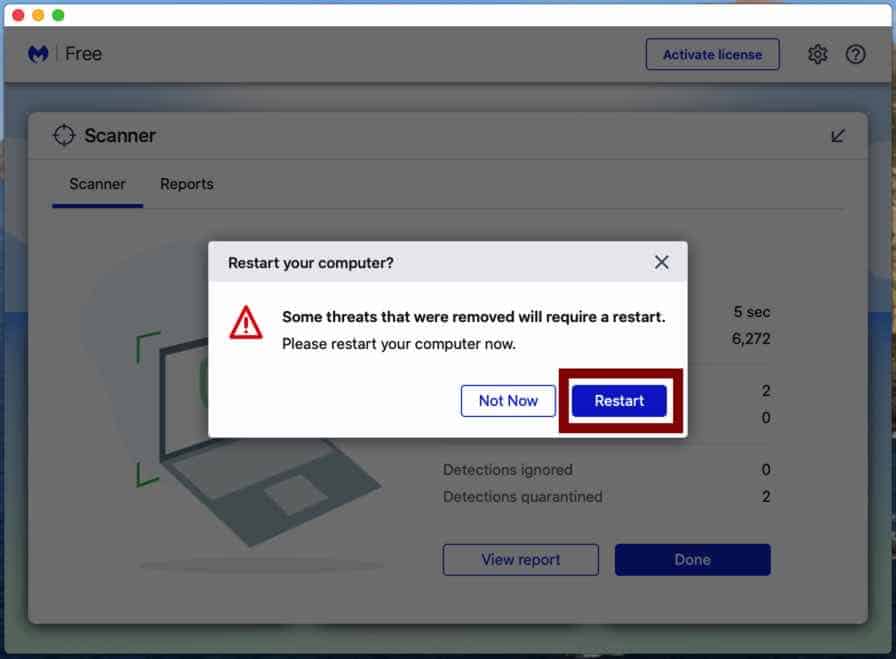
You’ll be presented with the malware removal results, click Next to continue.
Malicious software was partially removed from your computer. Restart your computer to complete removal.
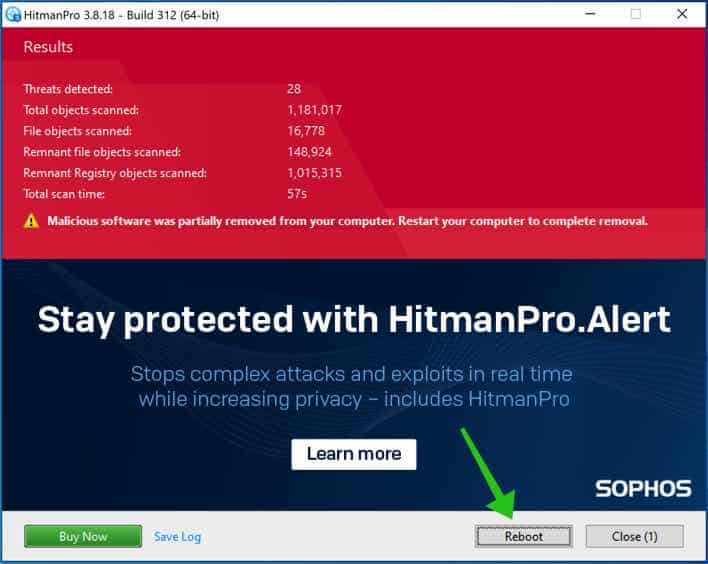
Bookmark this page before you reboot your computer to continue the next malware removal steps.
Continue to the next step.
If you still have problems with the web browser consider a full reset of the web browser.
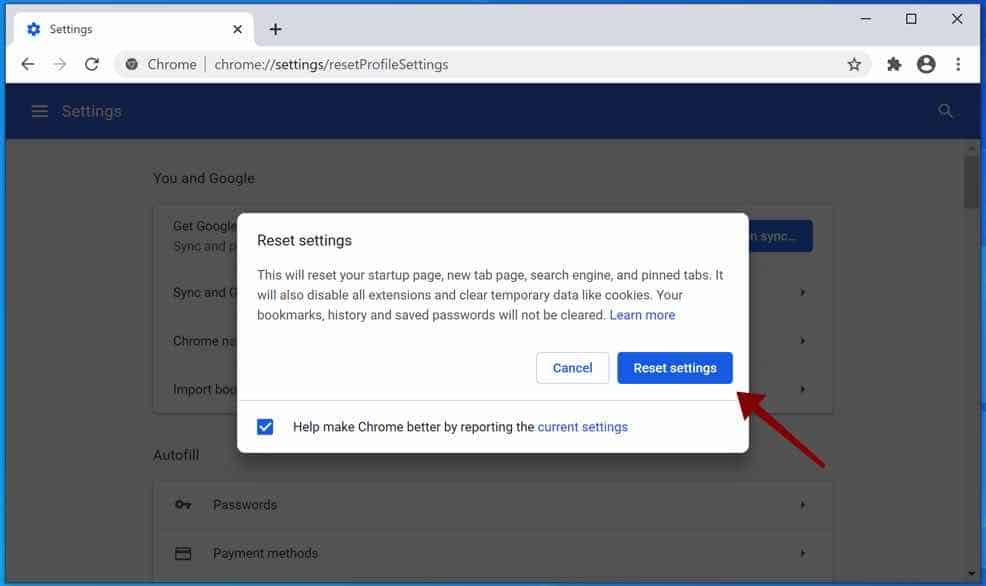
Reset the Google Chrome browser
In the Google Chrome address bar type, or copy and paste: chrome://settings/resetProfileSettings
Click the Reset Settings button to fully reset Google Chrome to the default settings. When you are done restart the Chrome browser.
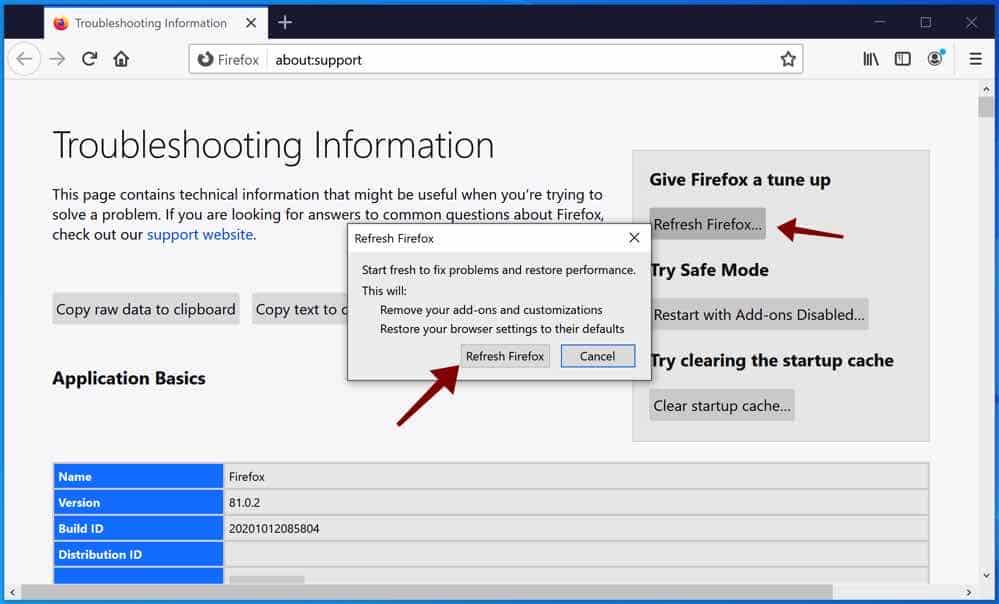
Reset the Firefox browser
In the Firefox address bar type, or copy and paste: about:support
Click the Refresh Firefox button to fully reset Firefox to the default settings. When you are done restart the Firefox browser.
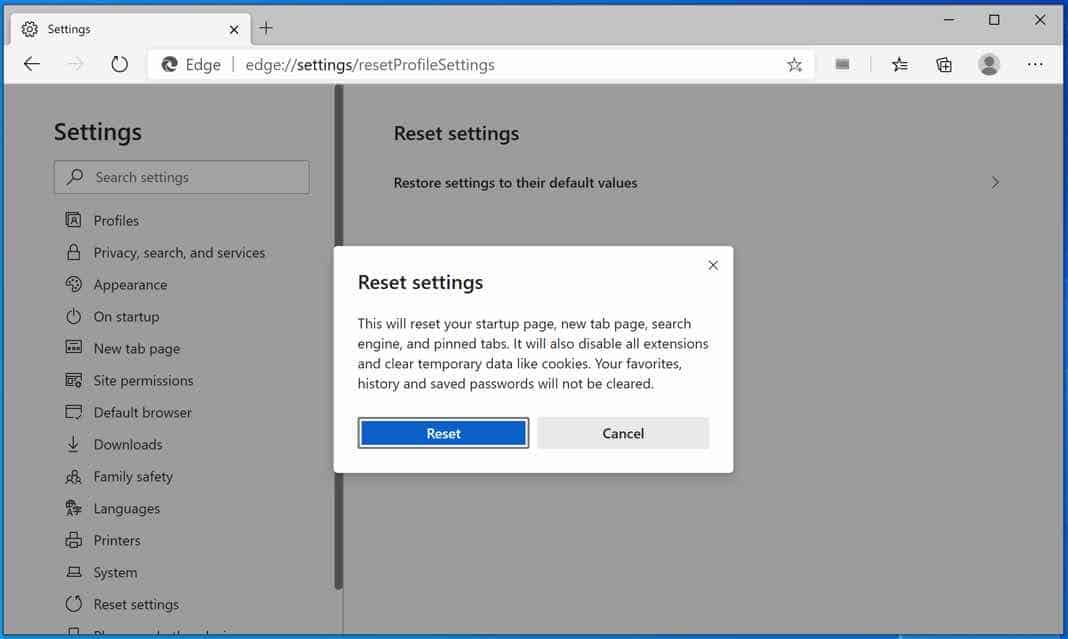
Reset the Microsoft Edge browser
In the Microsoft Edge address bar type, or copy and paste: edge://settings/resetProfileSettings
Click the Refresh button to fully reset Edge to the default settings. When you are done restart the Microsoft Edge browser.
Below you find instructions for Mac users.
Remove malware (Mac) with Malwarebytes
In this first step for Mac, you need to remove malware adware that is responsible for the unwanted advertisements with Malwarebytes for Mac. Malwarebytes is the best software to remove unwanted programs, adware, and browser hijackers from your Mac. Malwarebytes is free to detect and remove adware on your Mac computer.
Download Malwarebytes (Mac OS X)
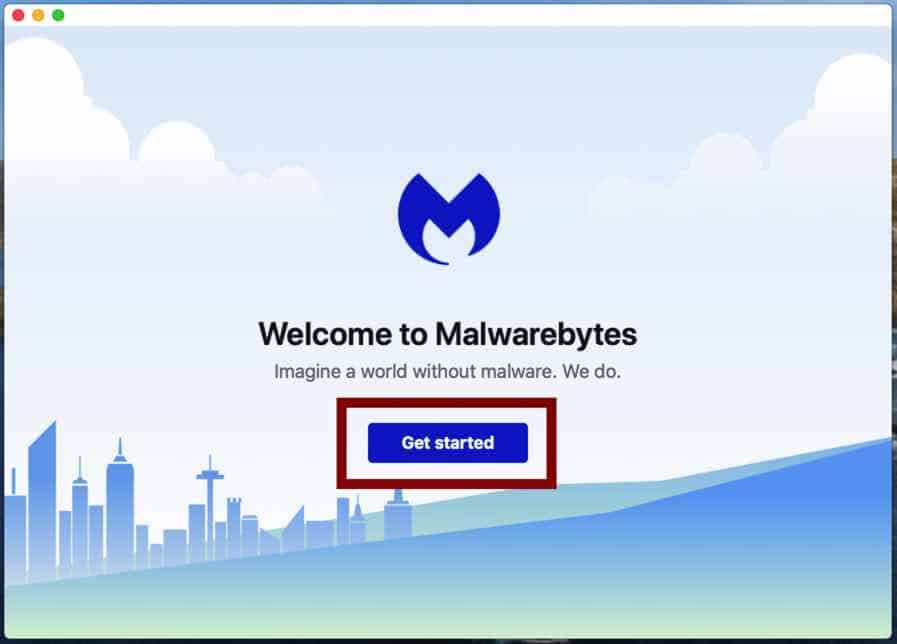
You can find the Malwarebytes installation file in the Downloads folder on your Mac. Double click the installation file to begin.
Follow instructions in the Malwarebytes installation file. Click the Get Started button.
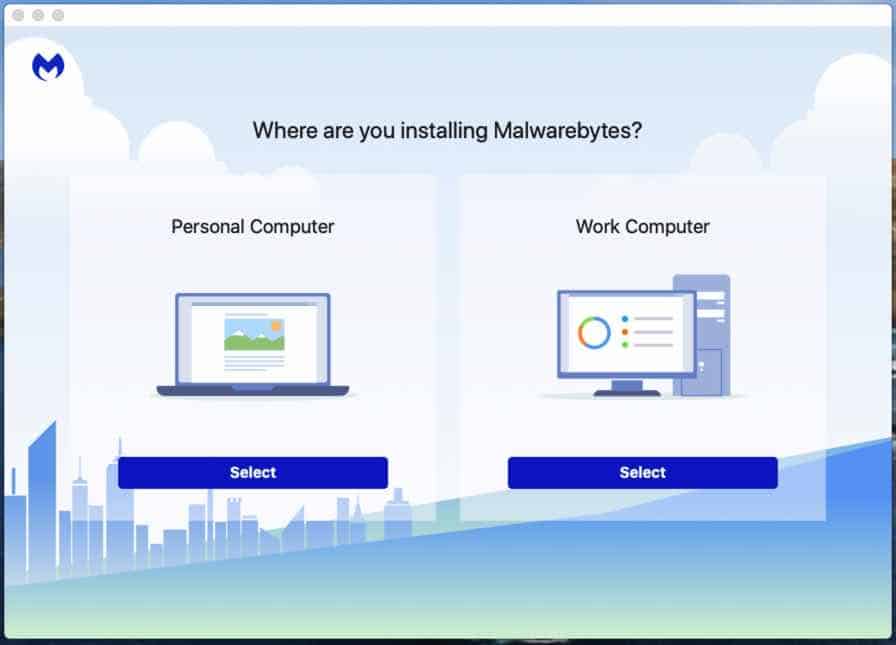
Where are you installing Malwarebytes on a personal computer or on a work computer? Make your choice by clicking any of the buttons.
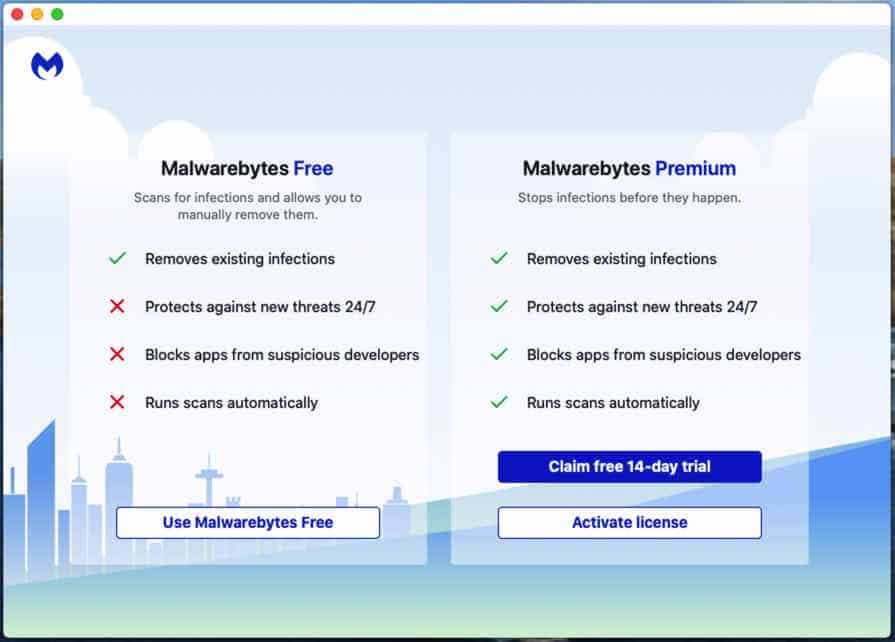
Make your choice to either use the Free version of Malwarebytes or the Premium version. The premium versions include protection against ransomware and offer real-time protection against malware.
Both Malwarebytes free and premium are able to detect and remove malware from your Mac.
Malwarebytes needs “Full Disk Access” permission in Mac OS X to scan your harddisk for malware. Click Open Preferences.
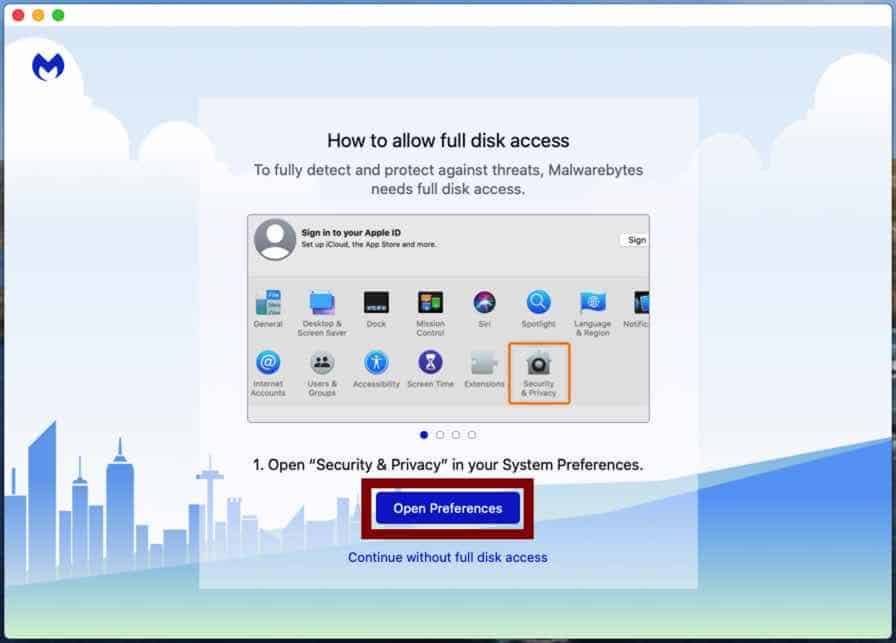
In the left panel click on “Full Disk Access”. Check the Malwarebytes Protection and close the settings.

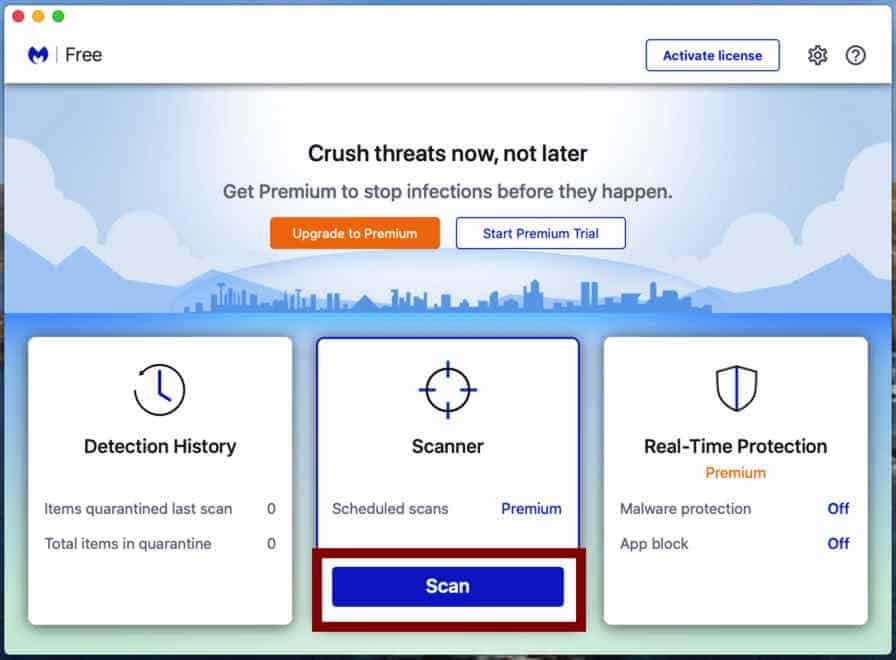
Go back to Malwarebytes and click the Scan button to begin scanning your Mac for malware.
Click on the Quarantine button to delete the found malware.
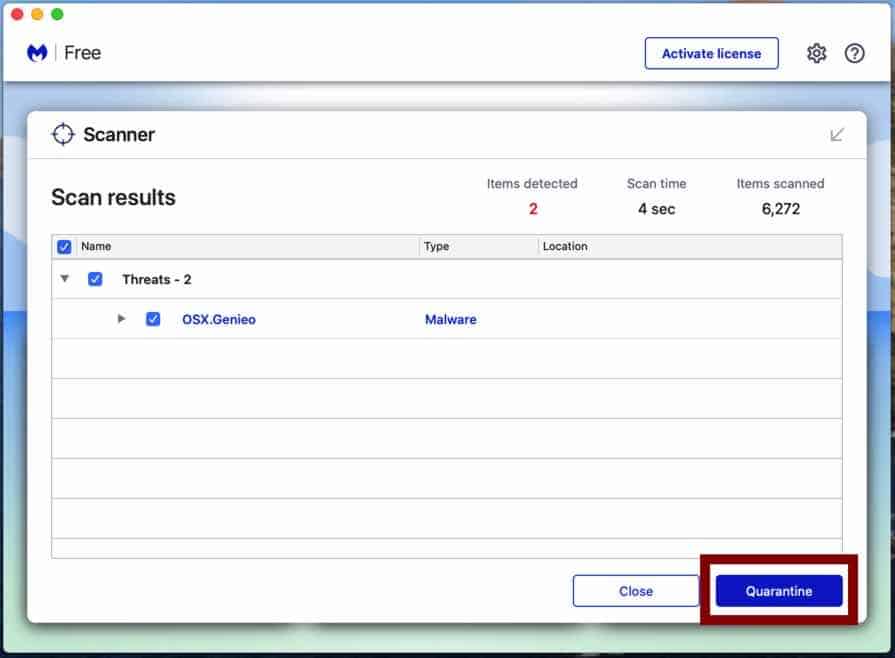
Reboot your Mac to complete the malware removal process.
When the removal process is done, continue to the next step.
[tabby title=”Remove Mac profile”]
First, you need to remove unwanted profiles from your Mac, follow the steps.
Click the Apple symbol () in the top left corner on Mac OS X, click on “Preferences” in the menu bar, and select “Profiles”. If profiles don’t exist you do not have any malicious profile installed on your Mac.
Select the “AdminPrefs“, “Chrome Profile“, or “Safari profile” and delete it.
[tabby title=”Remove malware from Safari (Mac)”]
Open the Safari browser.
In the left top corner click on Safari.
In the Safari menu click on Preferences.
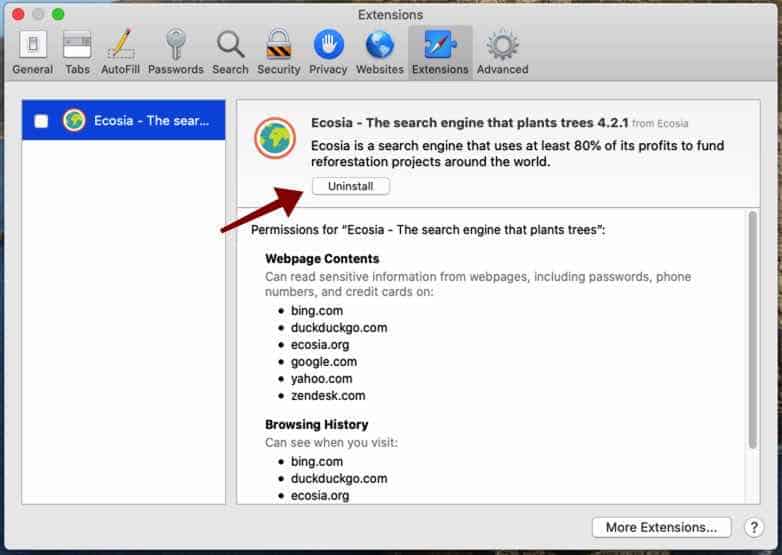
Open the “Extensions” tab.
Click on the extension you would like to remove, make sure to check for malware installed Safari extension, and click on “Uninstall”.
[tabby title=”Remove malware Google Chrome (Mac)”]
Open the Google Chrome browser on Mac.
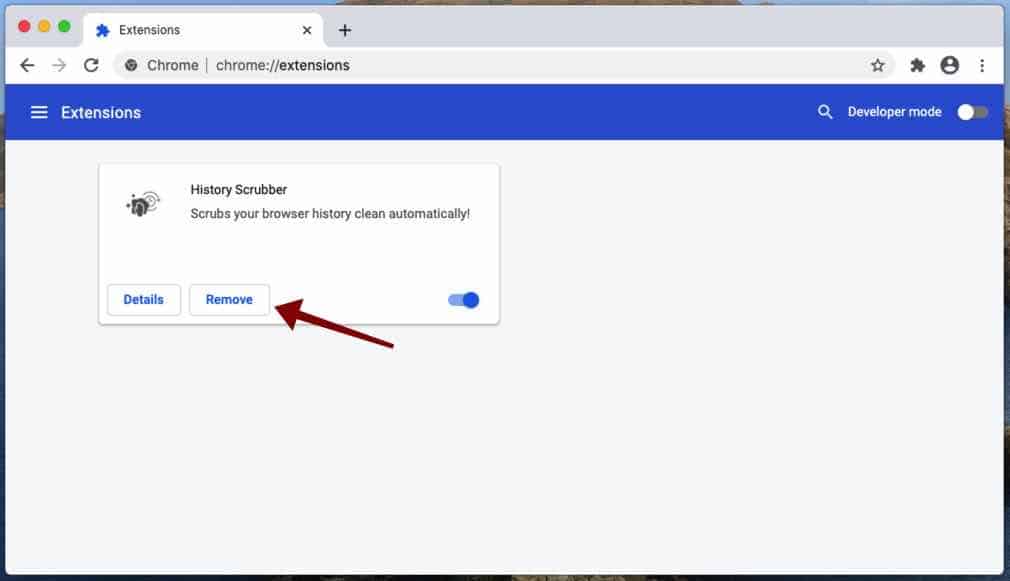
In the address bar type: chrome://extensions/.
Verify all listed browser extensions.
If you notice the malware extension, click the Remove button to uninstall the malware extension from Google Chrome on Mac.
[tabby title=”Remove malware Firefox (Mac)”]
Open the Firefox browser.
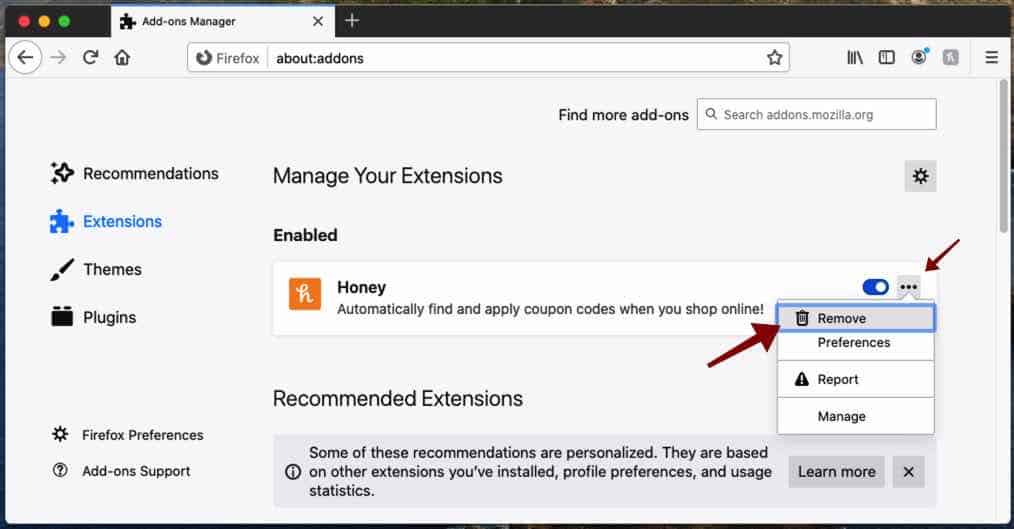
In the address bar type: about:addons.
Verify all installed Firefox add-ons.
If you notice the malware add-on, click the Remove button to uninstall the add-on from Firefox.
If you still need help you ask for my help in the comments.